Discover the fascinating history of bayberry candles and how colonial families made them for year-round illumination.
There is a timeless magic in the glow of a handmade candle. This collection explores the heritage skills of hand-dipped tapers, poured pillars, and natural soy and beeswax formulations. Drawing on decades of traditional craft experience, our guides cover everything from choosing the right wicks to mastering the perfect scent throw. Whether you are learning colonial dipping techniques or modern container pouring, discover the satisfaction of bringing warmth and light into your home, the pioneer way.
Discover the fascinating history of bayberry candles and how colonial families made them for year-round illumination.
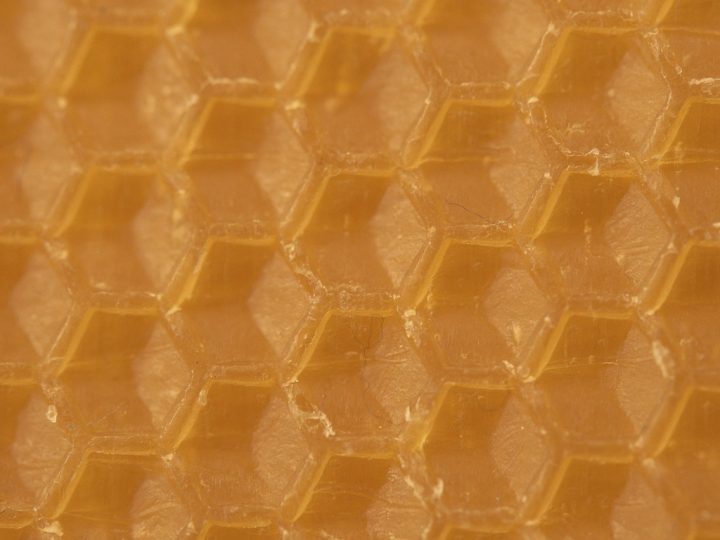
Explore the versatility of honey beeswax. From beauty products to home remedies, honey beeswax is a valuable ingredient with many uses.
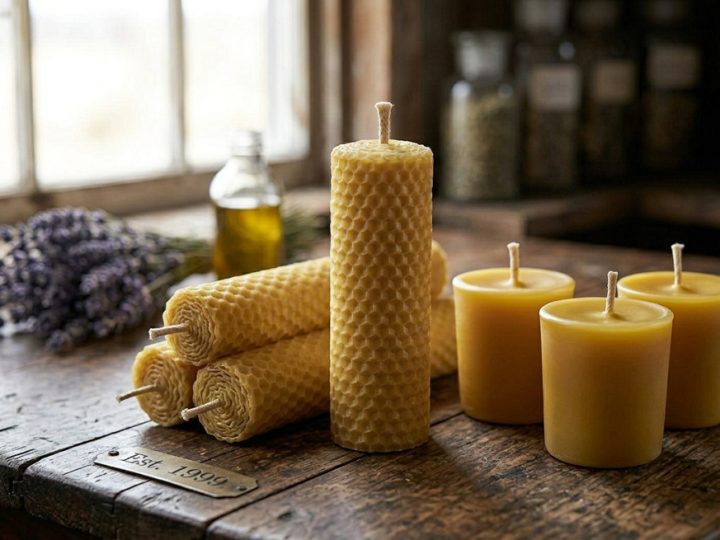
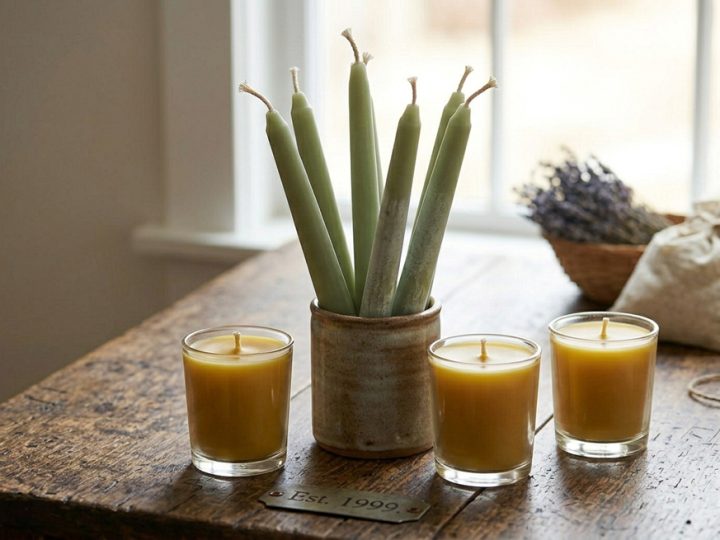
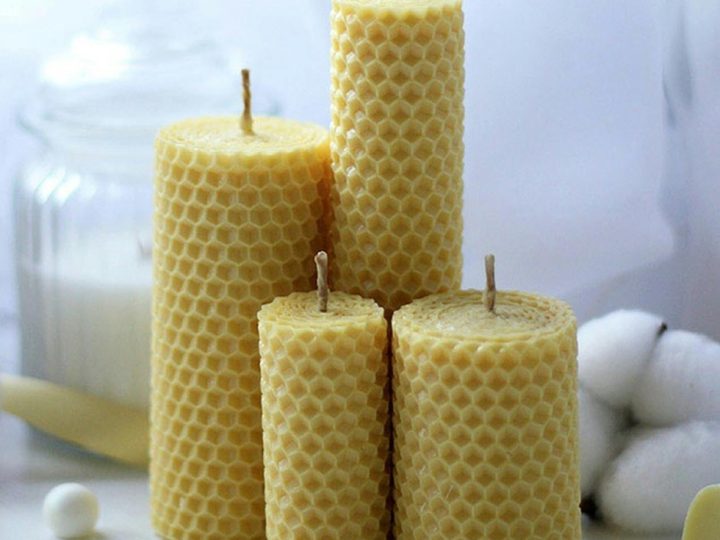
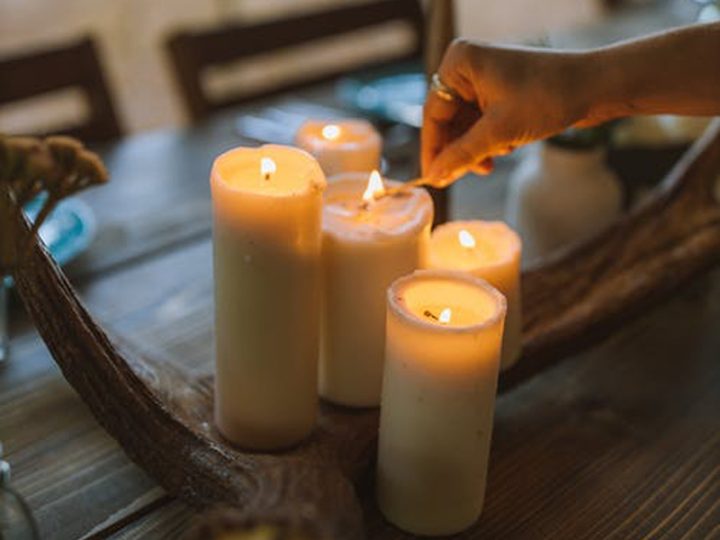
Bring the warm, honey-scented glow of DIY beeswax candles into your home. 🍯✨ These natural burners are eco-friendly, non-toxic, and surprisingly simple to make.
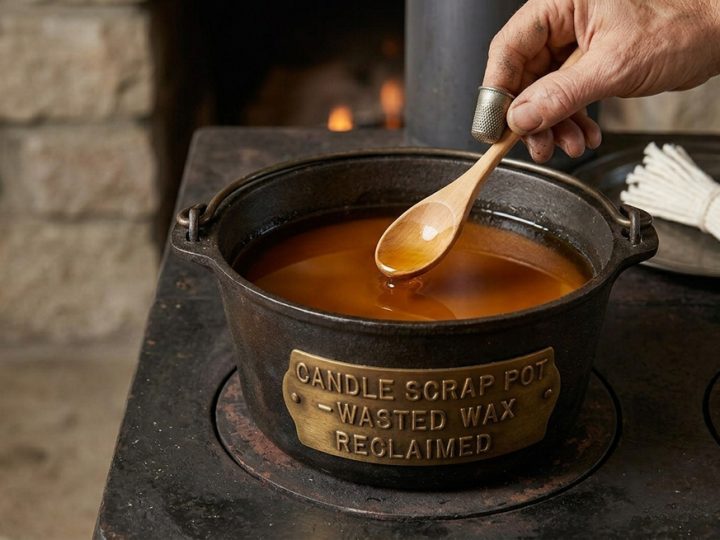
Save your candle remnants! Discover how to reuse candles and create new ones while embracing sustainability.
This article will clear up some of the complex issues concerning wax, how it is made and where it comes from.
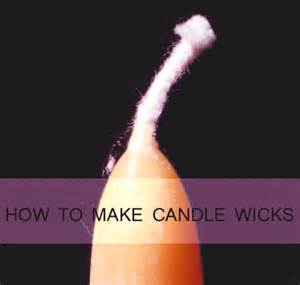
Learn how to make your own candle wick at home with our simple instructions and essential supplies for success.
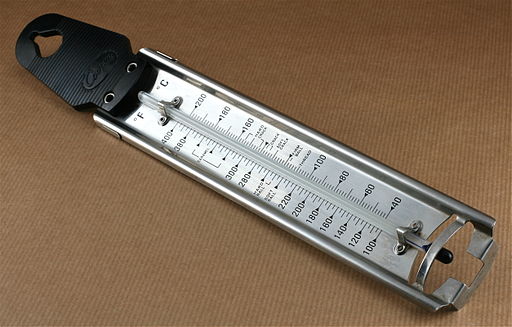
You have decided that you want to make your own candles. Here is what you are going to need to get started in the candle making craft.

Discover the fascinating history of candle making, from ancient torches to the first candles made by the ancient Egyptians.
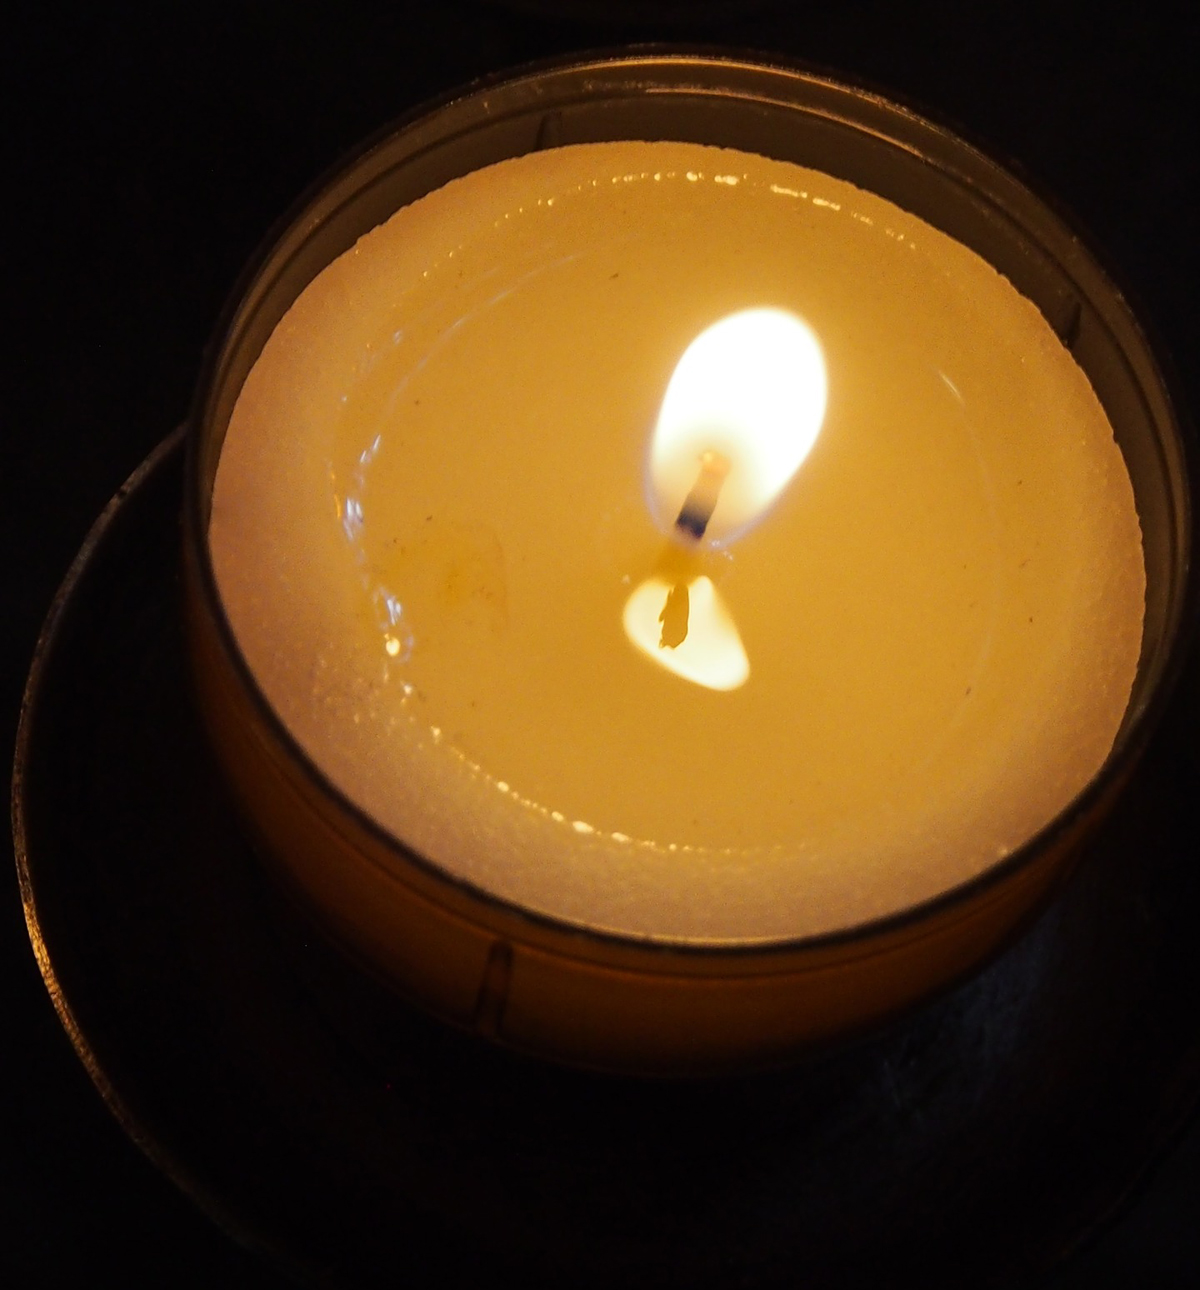
Discover the importance of having an emergency candle. Be prepared for power outages with a reliable and long-lasting emergency light source.
Learn about candle recycling and discover how to turn leftover candle wax into new, usable candles with simple steps.
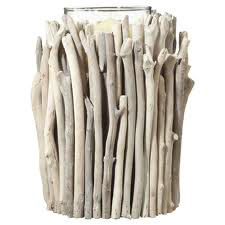
Explore the beauty of driftwood and its unique characteristics. Discover how driftwood can be used in home decor and DIY projects.
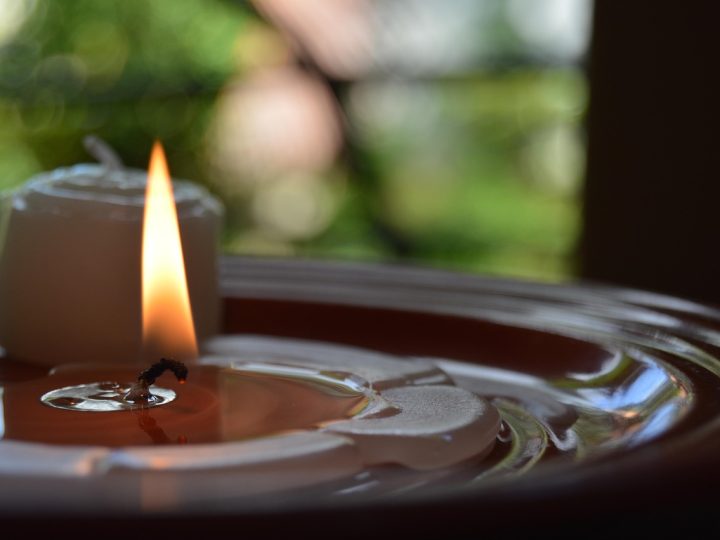
Explore the enchanting world of votive candles and discover their significance in home decor and spiritual practices.
Explore the world of candle decoration and DIY candle holders. Find inspiration for unique gifts and creative home decor ideas.
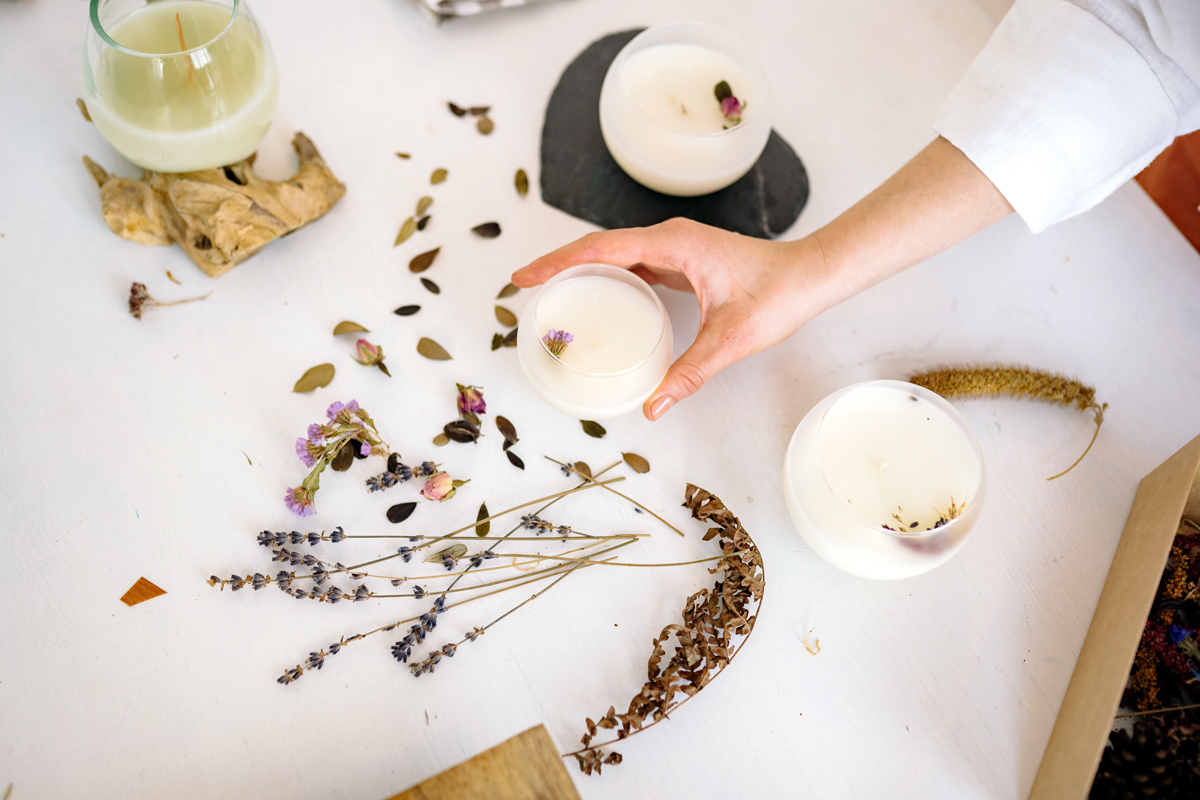
Learn how to create beautiful flower candles safely while preserving your favorite blooms for a unique decorative touch.
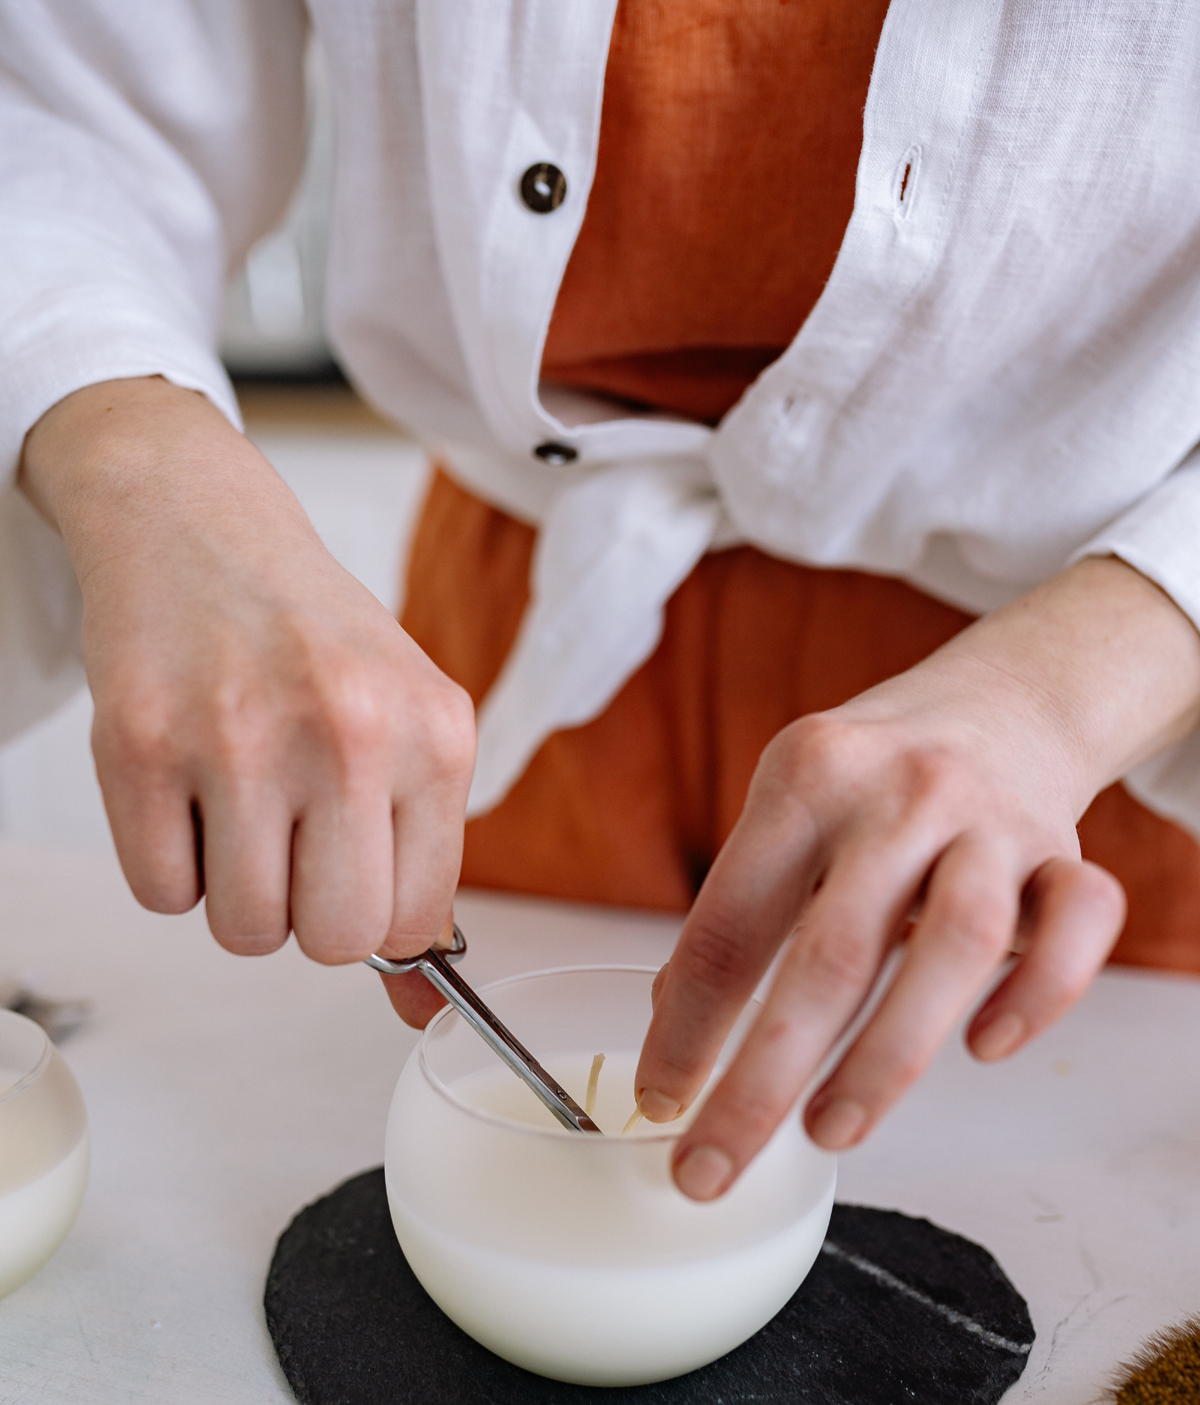
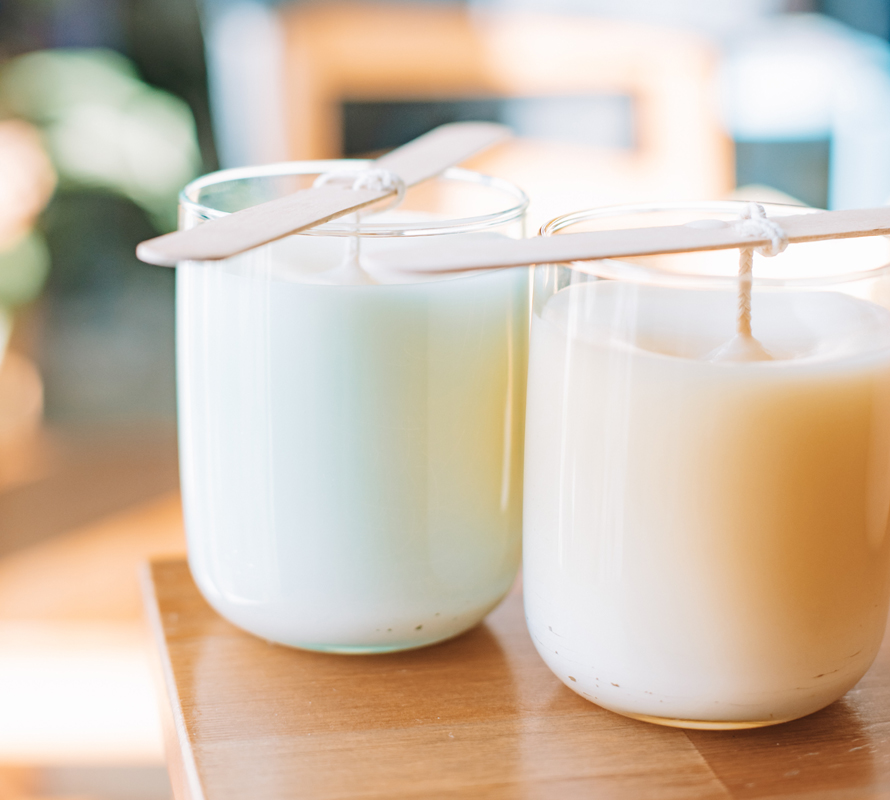
I would like to share with you how to make soy candles right from your home kitchen.